In the dynamic world of website management, there are times when you may need to unpublish your WordPress site temporarily or permanently. Whether you’re revamping your content, conducting maintenance, or simply taking your site offline for a while, the process of unpublishing is straightforward yet crucial. In this guide, we’ll walk you through the steps to unpublish your WordPress site, ensuring a smooth transition with minimal disruption.
- Access Your WordPress Dashboard: Start by logging into your WordPress admin dashboard using your username and password. Once logged in, navigate to the “Dashboard” section, where you’ll find a range of options for managing your site.
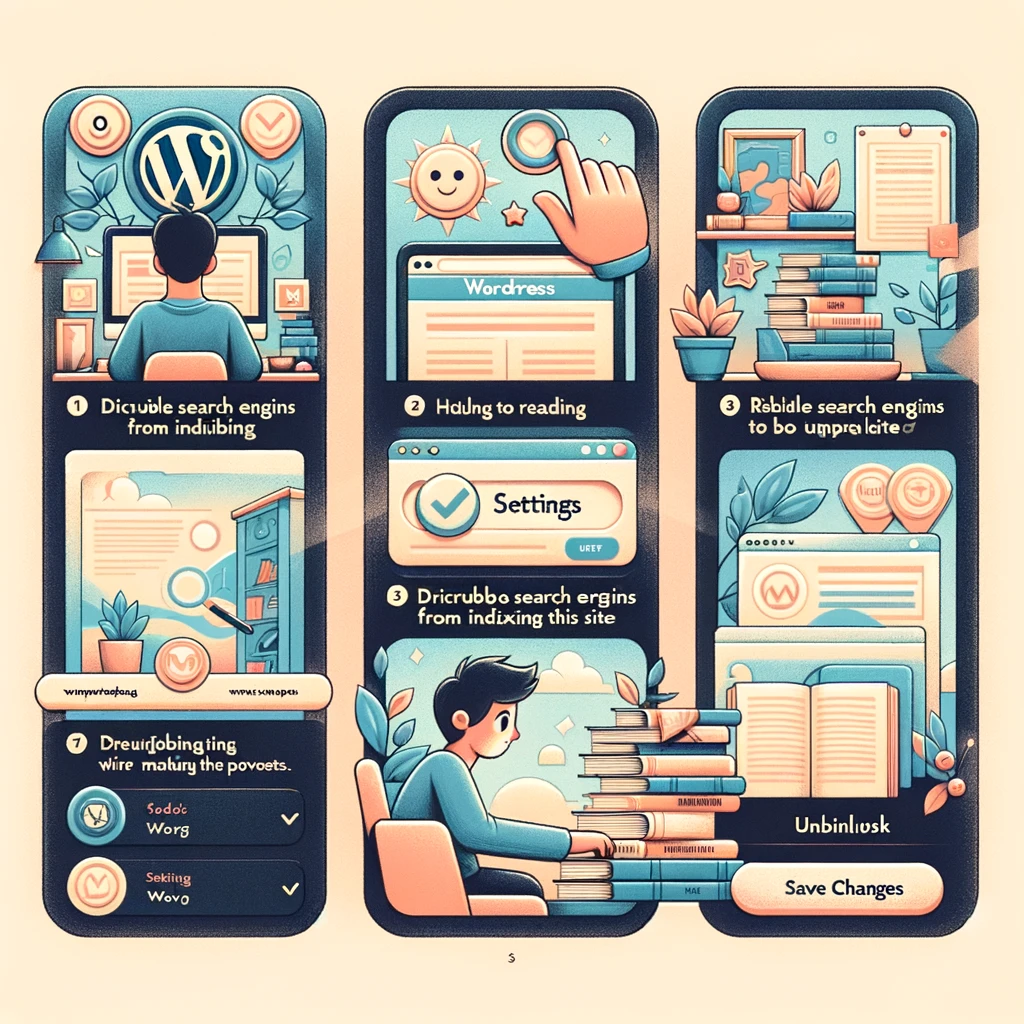
- Navigate to the “Settings” Section: In the WordPress dashboard, locate the “Settings” tab on the left-hand side menu. Click on it to reveal a dropdown menu with various settings options.
- Click on “Reading” Settings: Within the “Settings” dropdown menu, you’ll find the “Reading” option. Click on it to access the reading settings for your WordPress site.
- Adjust Your Site Visibility: In the “Reading” settings page, look for the “Site Visibility” section. Here, you’ll see an option labeled “Search Engine Visibility.” By default, this option is set to allow search engines to index your site.
- Check the Box to Discourage Search Engines: To unpublish your site temporarily, check the box next to “Discourage search engines from indexing this site.” This action tells search engines not to crawl or index your site, effectively making it invisible to search engine results pages (SERPs).
- Save Changes: After checking the box to discourage search engines, scroll down to the bottom of the page and click on the “Save Changes” button. This ensures that your settings are updated and applied to your WordPress site.
- Confirm Unpublishing: Once you’ve saved the changes, your WordPress site is effectively unpublished from search engines. Visitors who try to access your site may see a message indicating that it’s currently unavailable or under maintenance, depending on your site’s configuration.
- Consider Additional Measures: If you’re unpublishing your site for an extended period or making significant changes, you may want to take additional measures. Consider creating a custom maintenance page or redirecting visitors to a temporary landing page with relevant information.
- Communicate with Your Audience: If your site has regular visitors or subscribers, it’s essential to communicate any downtime or changes effectively. Use social media, email newsletters, or other communication channels to notify your audience about the temporary unpublishing of your site and when they can expect it to be back online.
- Monitor Site Performance: While your site is unpublished, periodically check its performance and ensure that the desired changes or updates are implemented correctly. Once you’re ready to republish your site, follow the same steps in reverse to make it accessible to search engines and visitors again.
By following these steps, you can effectively unpublish your WordPress site while maintaining control over its visibility and accessibility. Whether you’re making minor tweaks or undergoing a major overhaul, proper unpublishing ensures a seamless transition for both you and your site visitors.